FAQ
FAQ Why Us?
 Service Guarantee
 Our Cleaning Process
 Cleaner Screening Process
 Commitment to Quality
 TidyHere Difference
 TidyHere vs Others
 Recurring Cleaning
 Move In / Out Cleaning
 Office Cleaning
 Housekeeping
 Post Construction Cleaning
 Green Cleaning
 Home Organization
 Deep Cleaning
 Oven Cleaning
 Airbnb Cleaning
 Refrigerator Cleaning
You’ve probably spent time cleaning out your refrigerator to avoid nasty smells and tossed out your expired food, but have you cleaned your freezer? Odds are you likely haven’t even thought about cleaning your freezer and that’s okay, many of us haven’t. Allow us to encourage and help you clean out your freezer with this helpful little guide.
Getting Started
Before you even open your freezer, make sure you have everything you’ll need ready to go. You’ll need:
- A cooler with ice or ice packs
- Hot water in a spray bottle
- White vinegar
- Microfiber cloths
- An old toothbrush
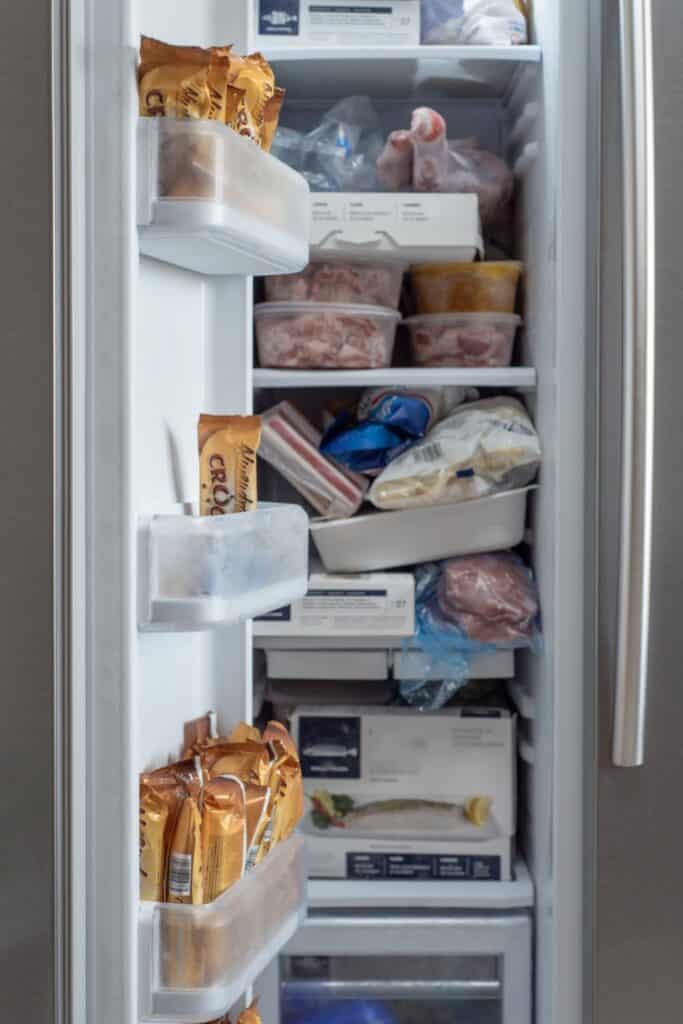
Start by taking everything out of your freezer and placing it into the cooler until it’s time to put it all back or throw it out. As soon as all the frozen items are removed, unplug your refrigerator. Remember not to open the fridge while it is unplugged, your food will remain safe as long as the air is cool. We promise this won’t take long and you’ll be able to plug it in again quickly.
Remove Drawers and Bins
Once your freezer has been emptied and unplugged and had some time to defrost and come closer to room temperature, you can get started with the cleaning process. We suggest making sure that any parts of the freezer that can be removed are out of the way. Removing drawers or shelves can make the whole process easier and more accessible for cleaning. Set the removed piece off to the side to clean later. It is important to allow each part of the freezer to come to room temperature before cleaning so that no piece becomes damaged from the temperature change. If there is any glass, it will need to warm up before you clean it so that it does not break under the hot water you will be using.
A Good Wipe Down
While your freezer is fully empty and in the best state to be cleaned, it’s time for the cleaning to start. While many people may swear by cleaning with bleach as an effective method, we prefer to use less toxic and food-safe products to clean. Try this method to fully wipe down your freezer:
- Use hot water and a few drops of dish soap to wipe the interior of your freezer
- Pour equal parts of hot water and white vinegar into your spray bottle and mix it well
- Use this solution to spray the freezer thoroughly, paying extra attention to any grime
- If necessary, use a toothbrush to scrub the solution around any tight spaces or drawer treads
- Wipe away the solution with a microfiber cloth and make sure the freezer has been thoroughly dried
- If your freezer is smelly or particularly grimey: sprinkle a generous amount of baking soda around the freezer before spraying the solution and scrub the mix around the freezer to deodorize and remove stains
You’ll want to repeat this process for each of the pieces, like drawers or shelves, that you removed from the freezer as well. Make sure to be thorough with the solution and with drying each piece before replacing them and closing the freezer.
Reset and Replace
As soon as every part of the freezer, inside and out, is dry you can begin to replace the pieces you removed to clean. Once everything has been put back, you can plug in your refrigerator and allow the freezer to cool down again. The suggested temperature to keep your freezer set to is about 0 degrees (Fahrenheit). While the freezer is cooling, take some time to look through the food products you put into the cooler. Review each item’s expiration or sell-by date and refer to this quick guide for freezer storage safety:
- Beef, pork, lamb: 3-4 months
- Bacon & sausage: 1-2 months
- Chicken & turkey: 4 months
- Fish: no more than 6 months
- Frozen meals: 3-4 months
- Vegetables: 2-3 months
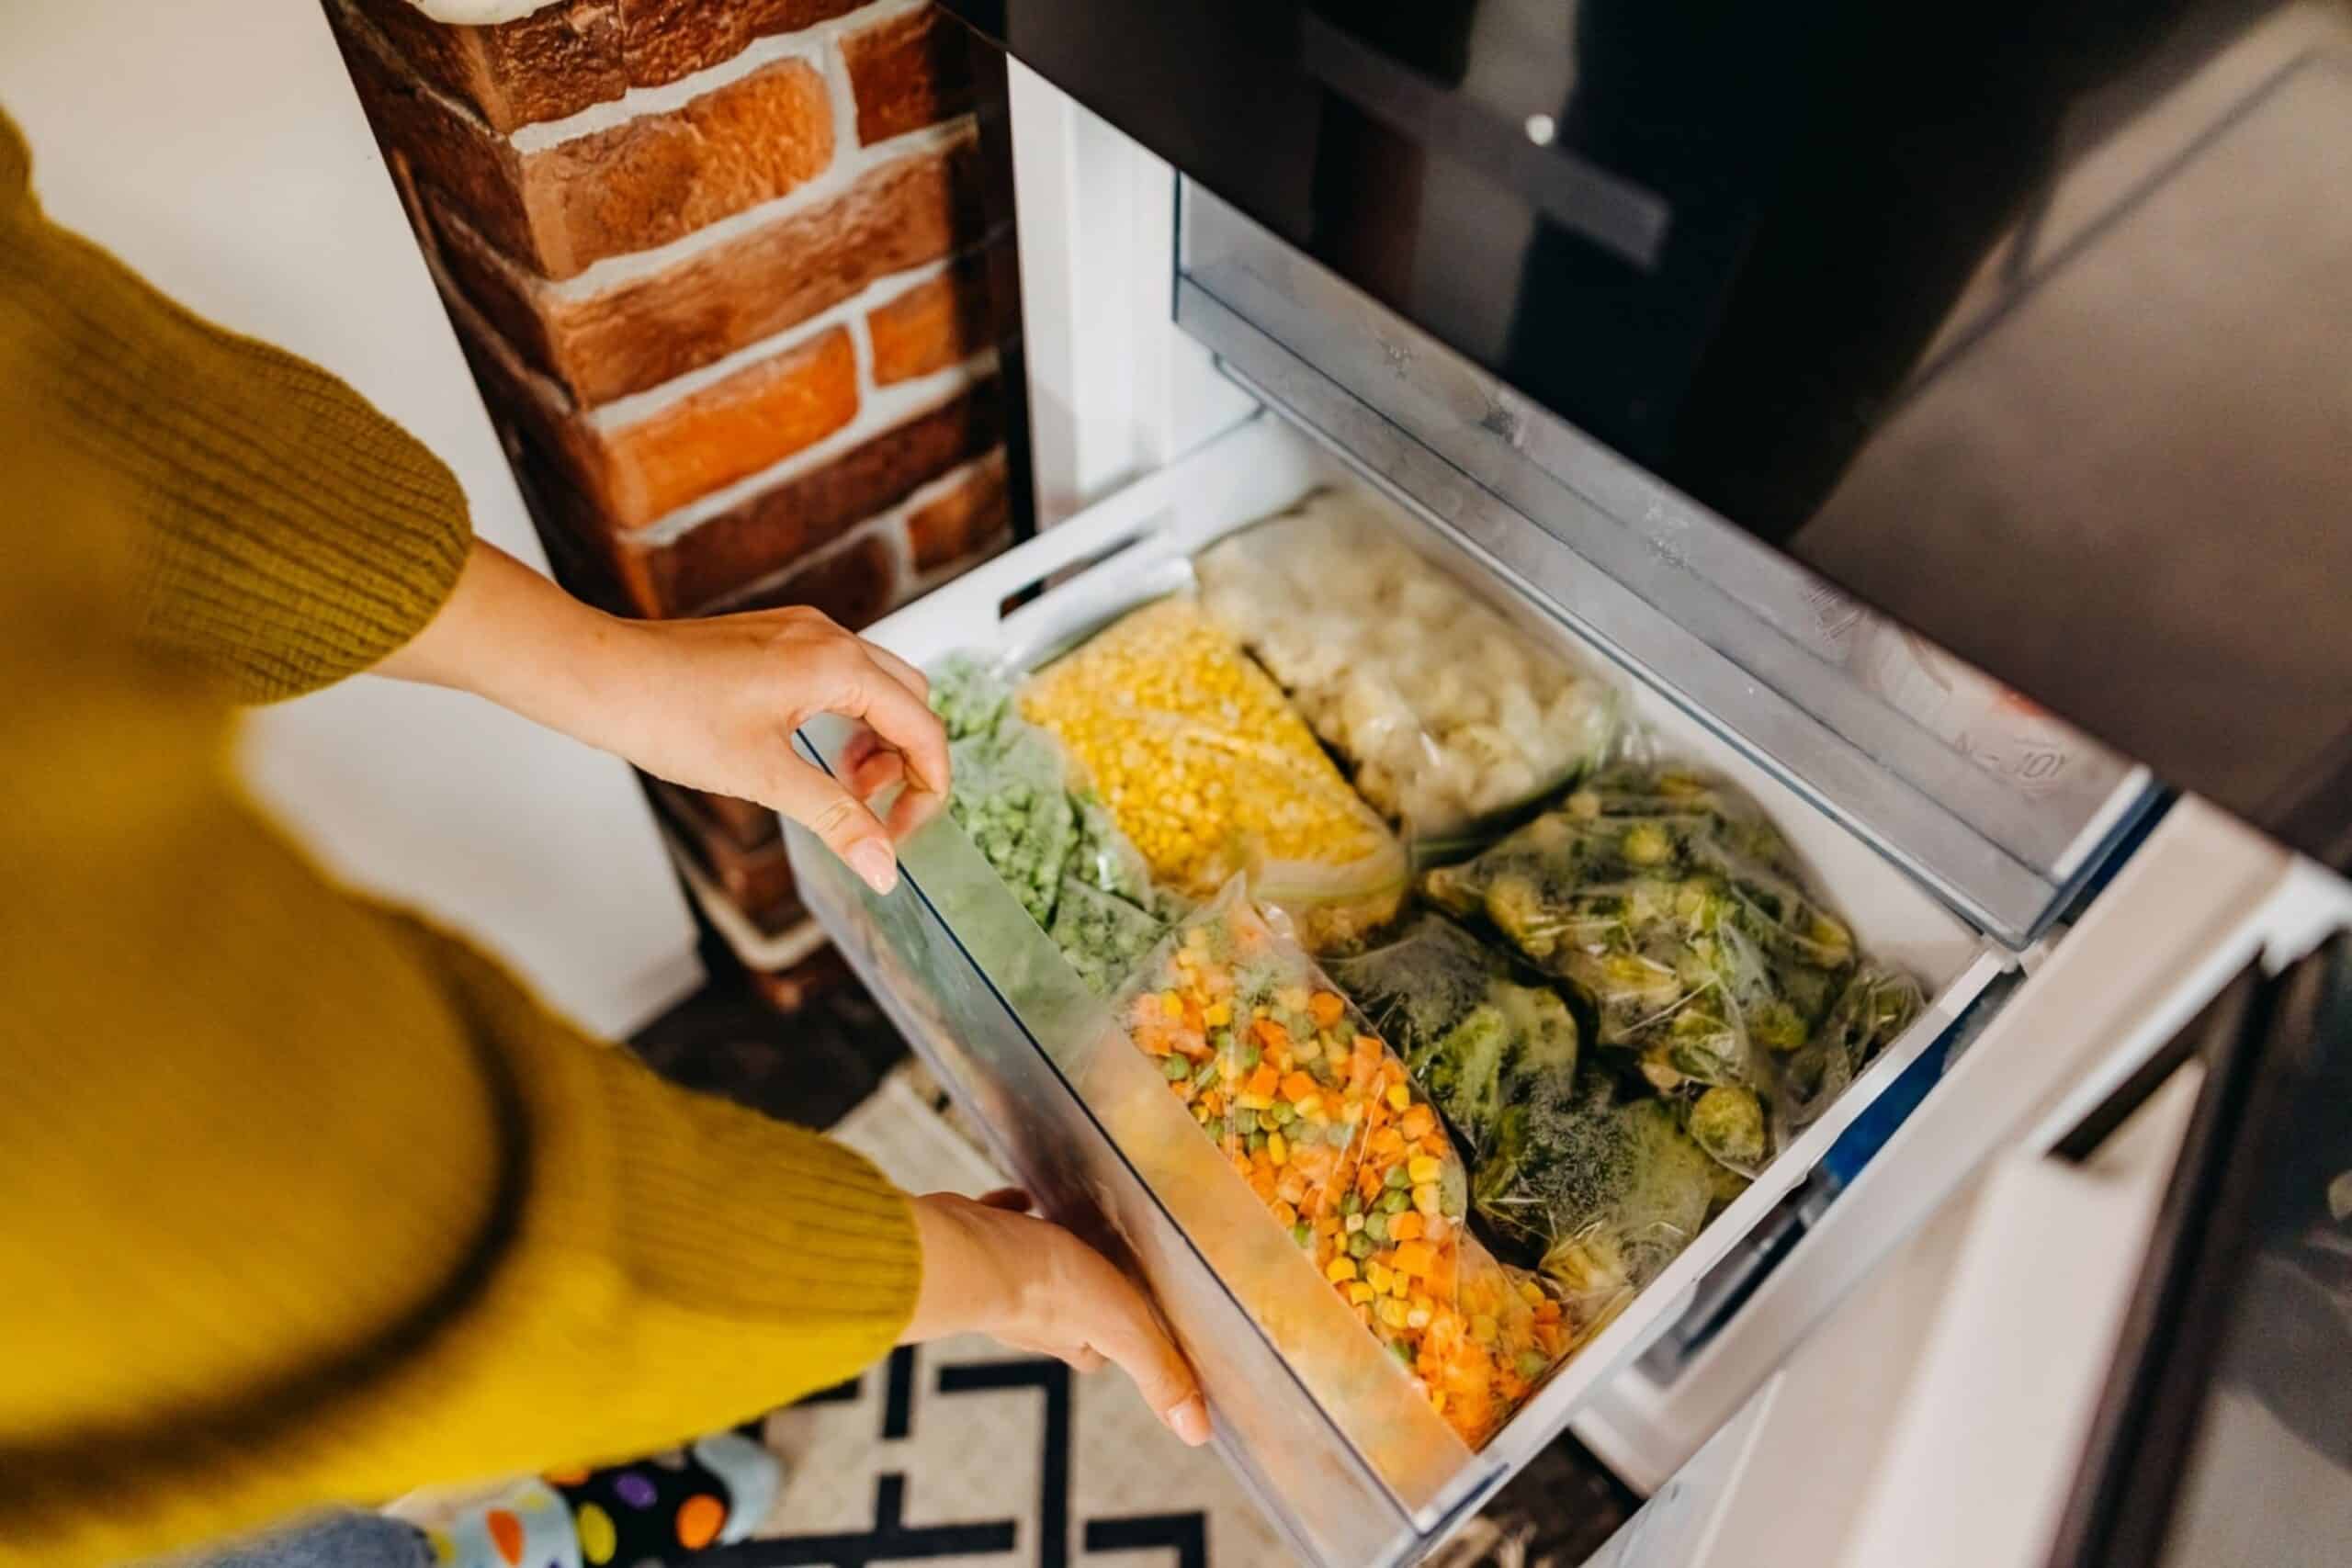
For a more thorough and detailed list of food safety guidelines, check out the FDA’s website for their official food storage guides. Once the freezer has been fully cooled, you can begin to replace each item from the cooler. Be mindful of how you place each item so that your freezer is not crowded and chaotic when you open it up. Consider adding your own storage and organization solutions to keep everything accessible and tidy.
You’ve done it! Your freezer has now been cleaned and restocked neatly so that it can function properly and efficiently. Remember to keep up with cleaning your freezer about once every 3 months or so to keep it looking good. If you tackled cleaning your freezer, but seem to be completely overwhelmed by the rest of the kitchen, don’t panic. We’ve got your back. Tidy Here offers a variety of cleaning services for you to choose from, so contact us today to get started.